#
03create workflow
#
Demo workflow UI basics
Workflow Builder is a graphical interface for Workflow Manager and is used to create, modify and manage workflows.
Workflows are groups of tasks and/or sub-workflows that can be used, for example, to install or delete devices, create loopback interfaces on devices, send messages and much more. You can create your own workflows or edit existing ones by adding or removing tasks or sub-workflows.
Every task and sub-workflow placed in a workflow has a unique reference alias, and no two workflows can share a name and version.
#
How to create a new custom workflow
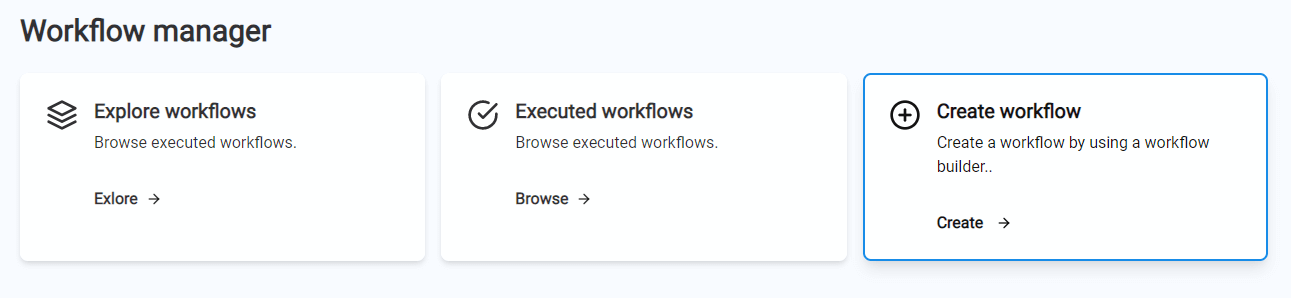
Now we can create a new workflow from scratch:
- Select Create on the main page of FRINX Machine.
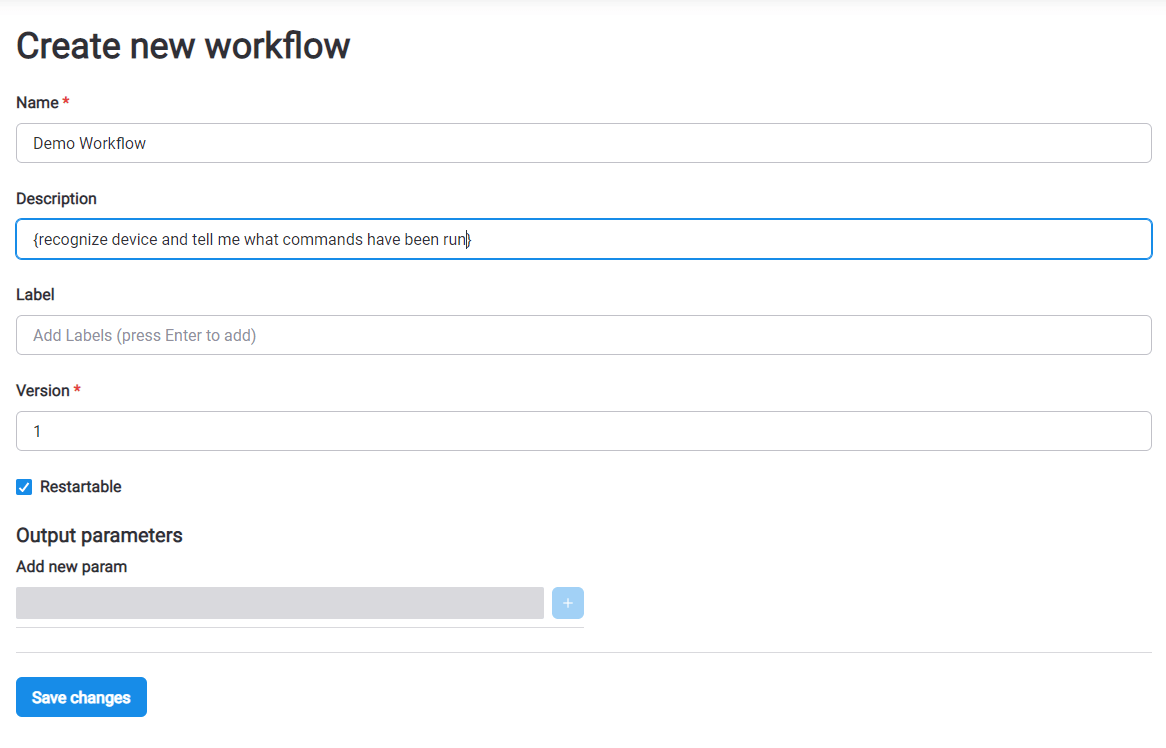
- Enter details for the new workflow. Under Name, enter a name for your workflow (note that this name cannot be changed later). The Description is for additional information about the workflow and can be left empty. Label can help you to find your workflow later under Explore workflows, but can also be left empty. Select Save changes when ready.
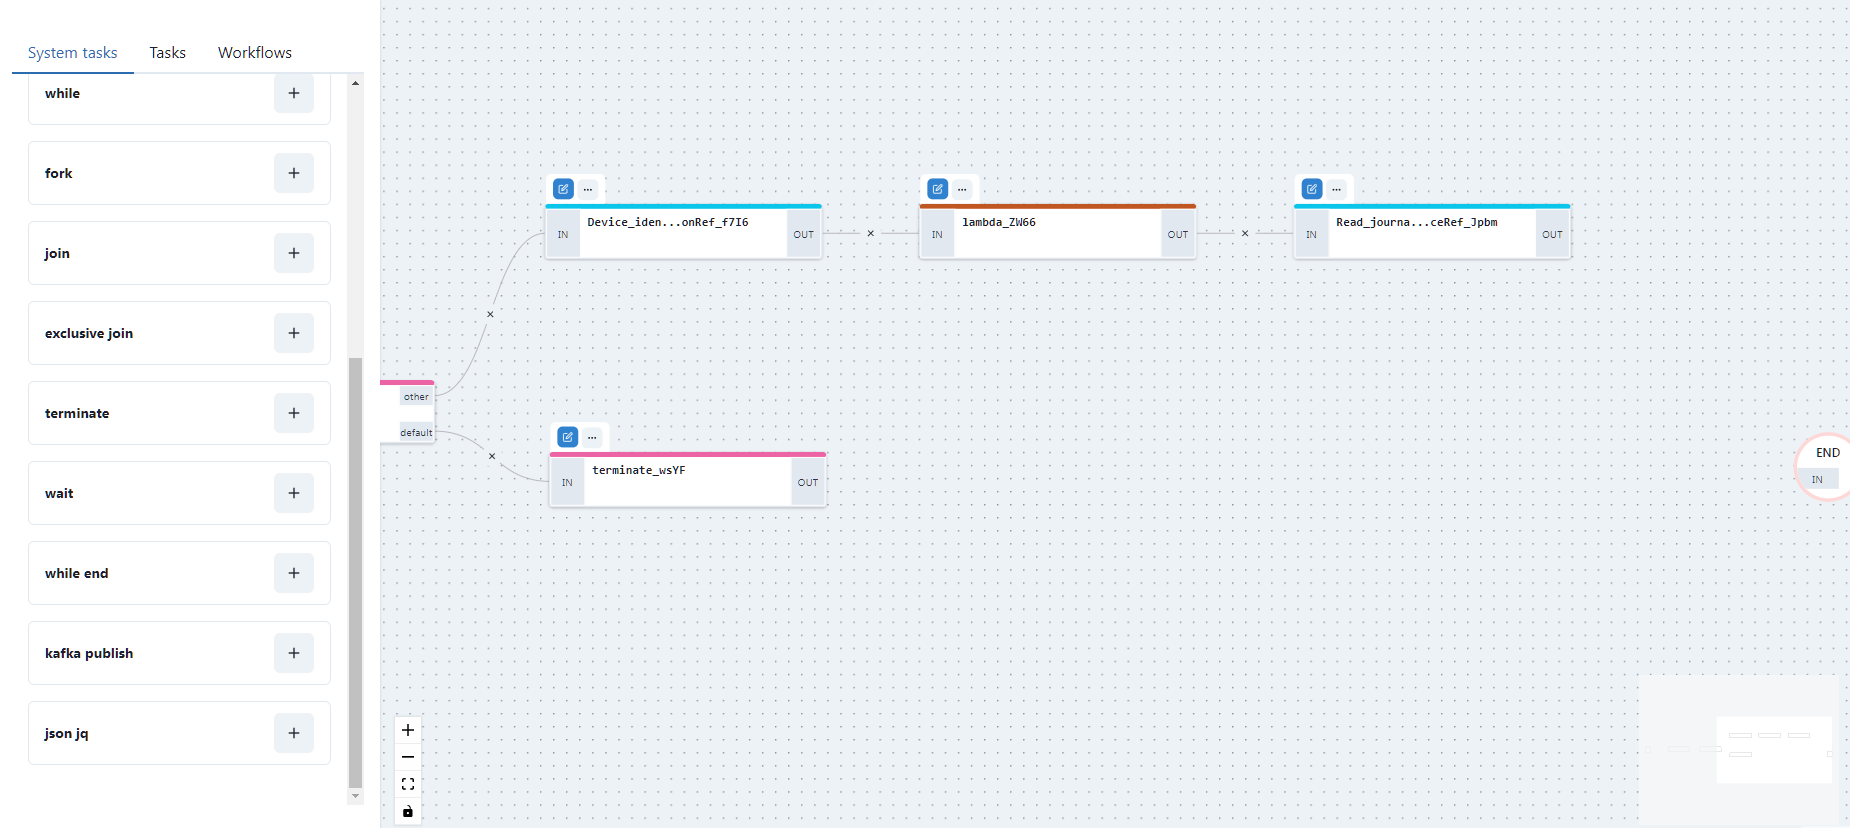
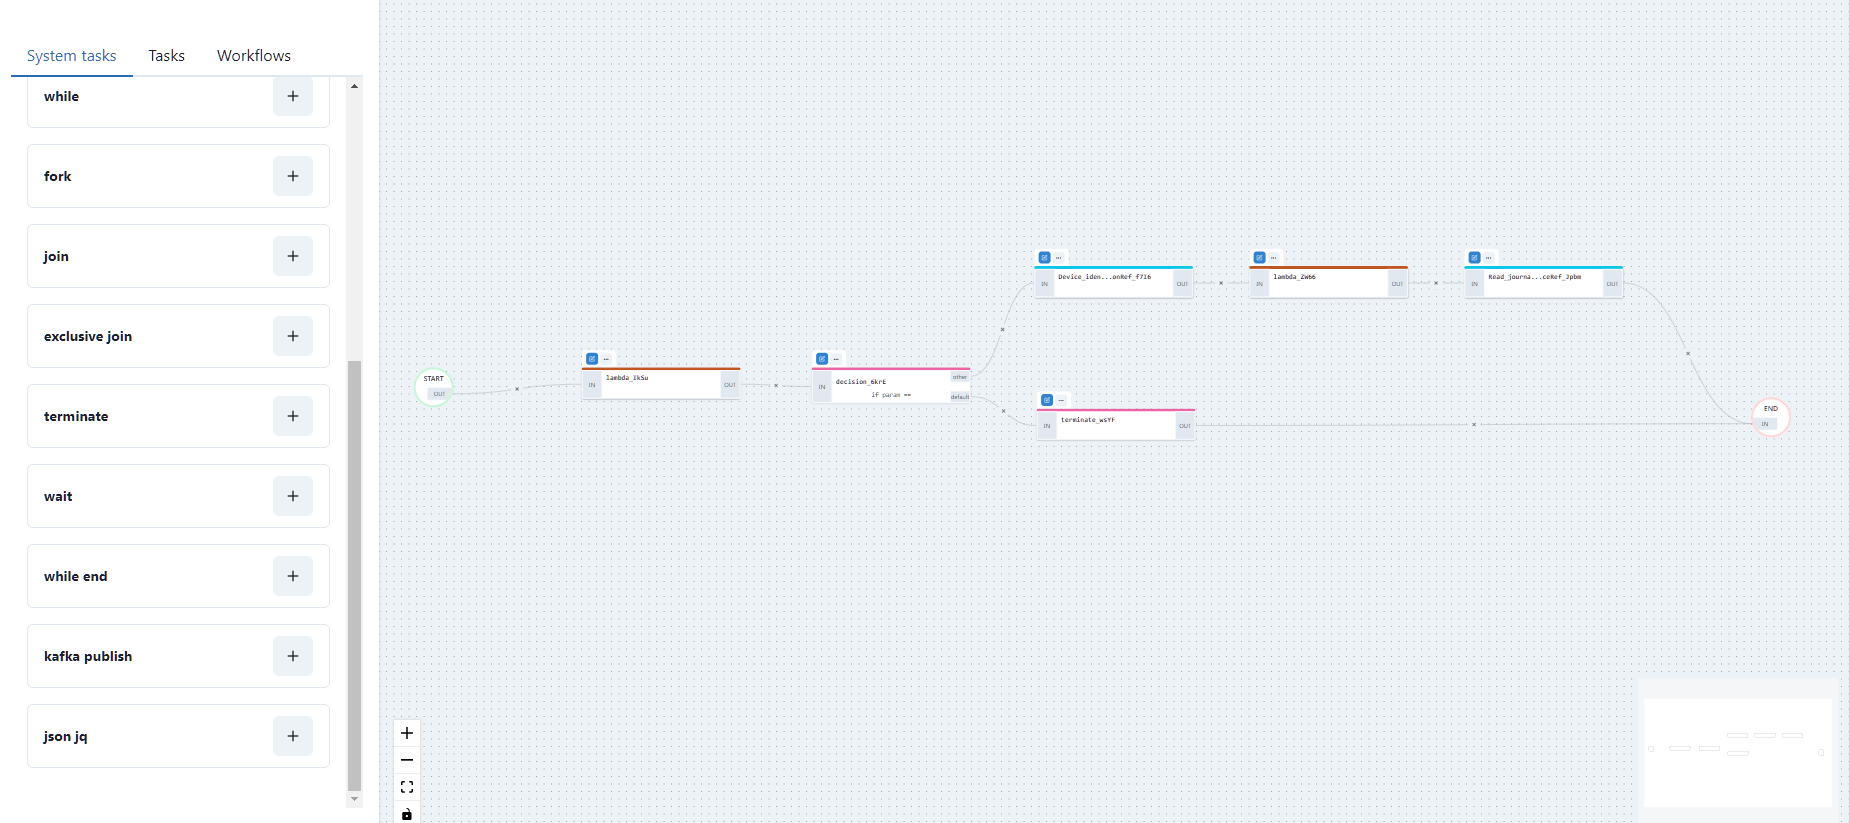
- Under System tasks, click the + sign for the lambda, decision and terminate tasks. Under Workflows, click the + sign for Device_identification. Tasks and sub-workflows are added on top of each other on the canvas and can be dragged around. To connect all parts of the workflow, hover over IN and OUT where the + sign appears. Connect the parts as follows: START - lambda - decision - (other) to Device_identification and default to terminate. Each task and workflow has a reference alias after its name, which works as unique a identifier.
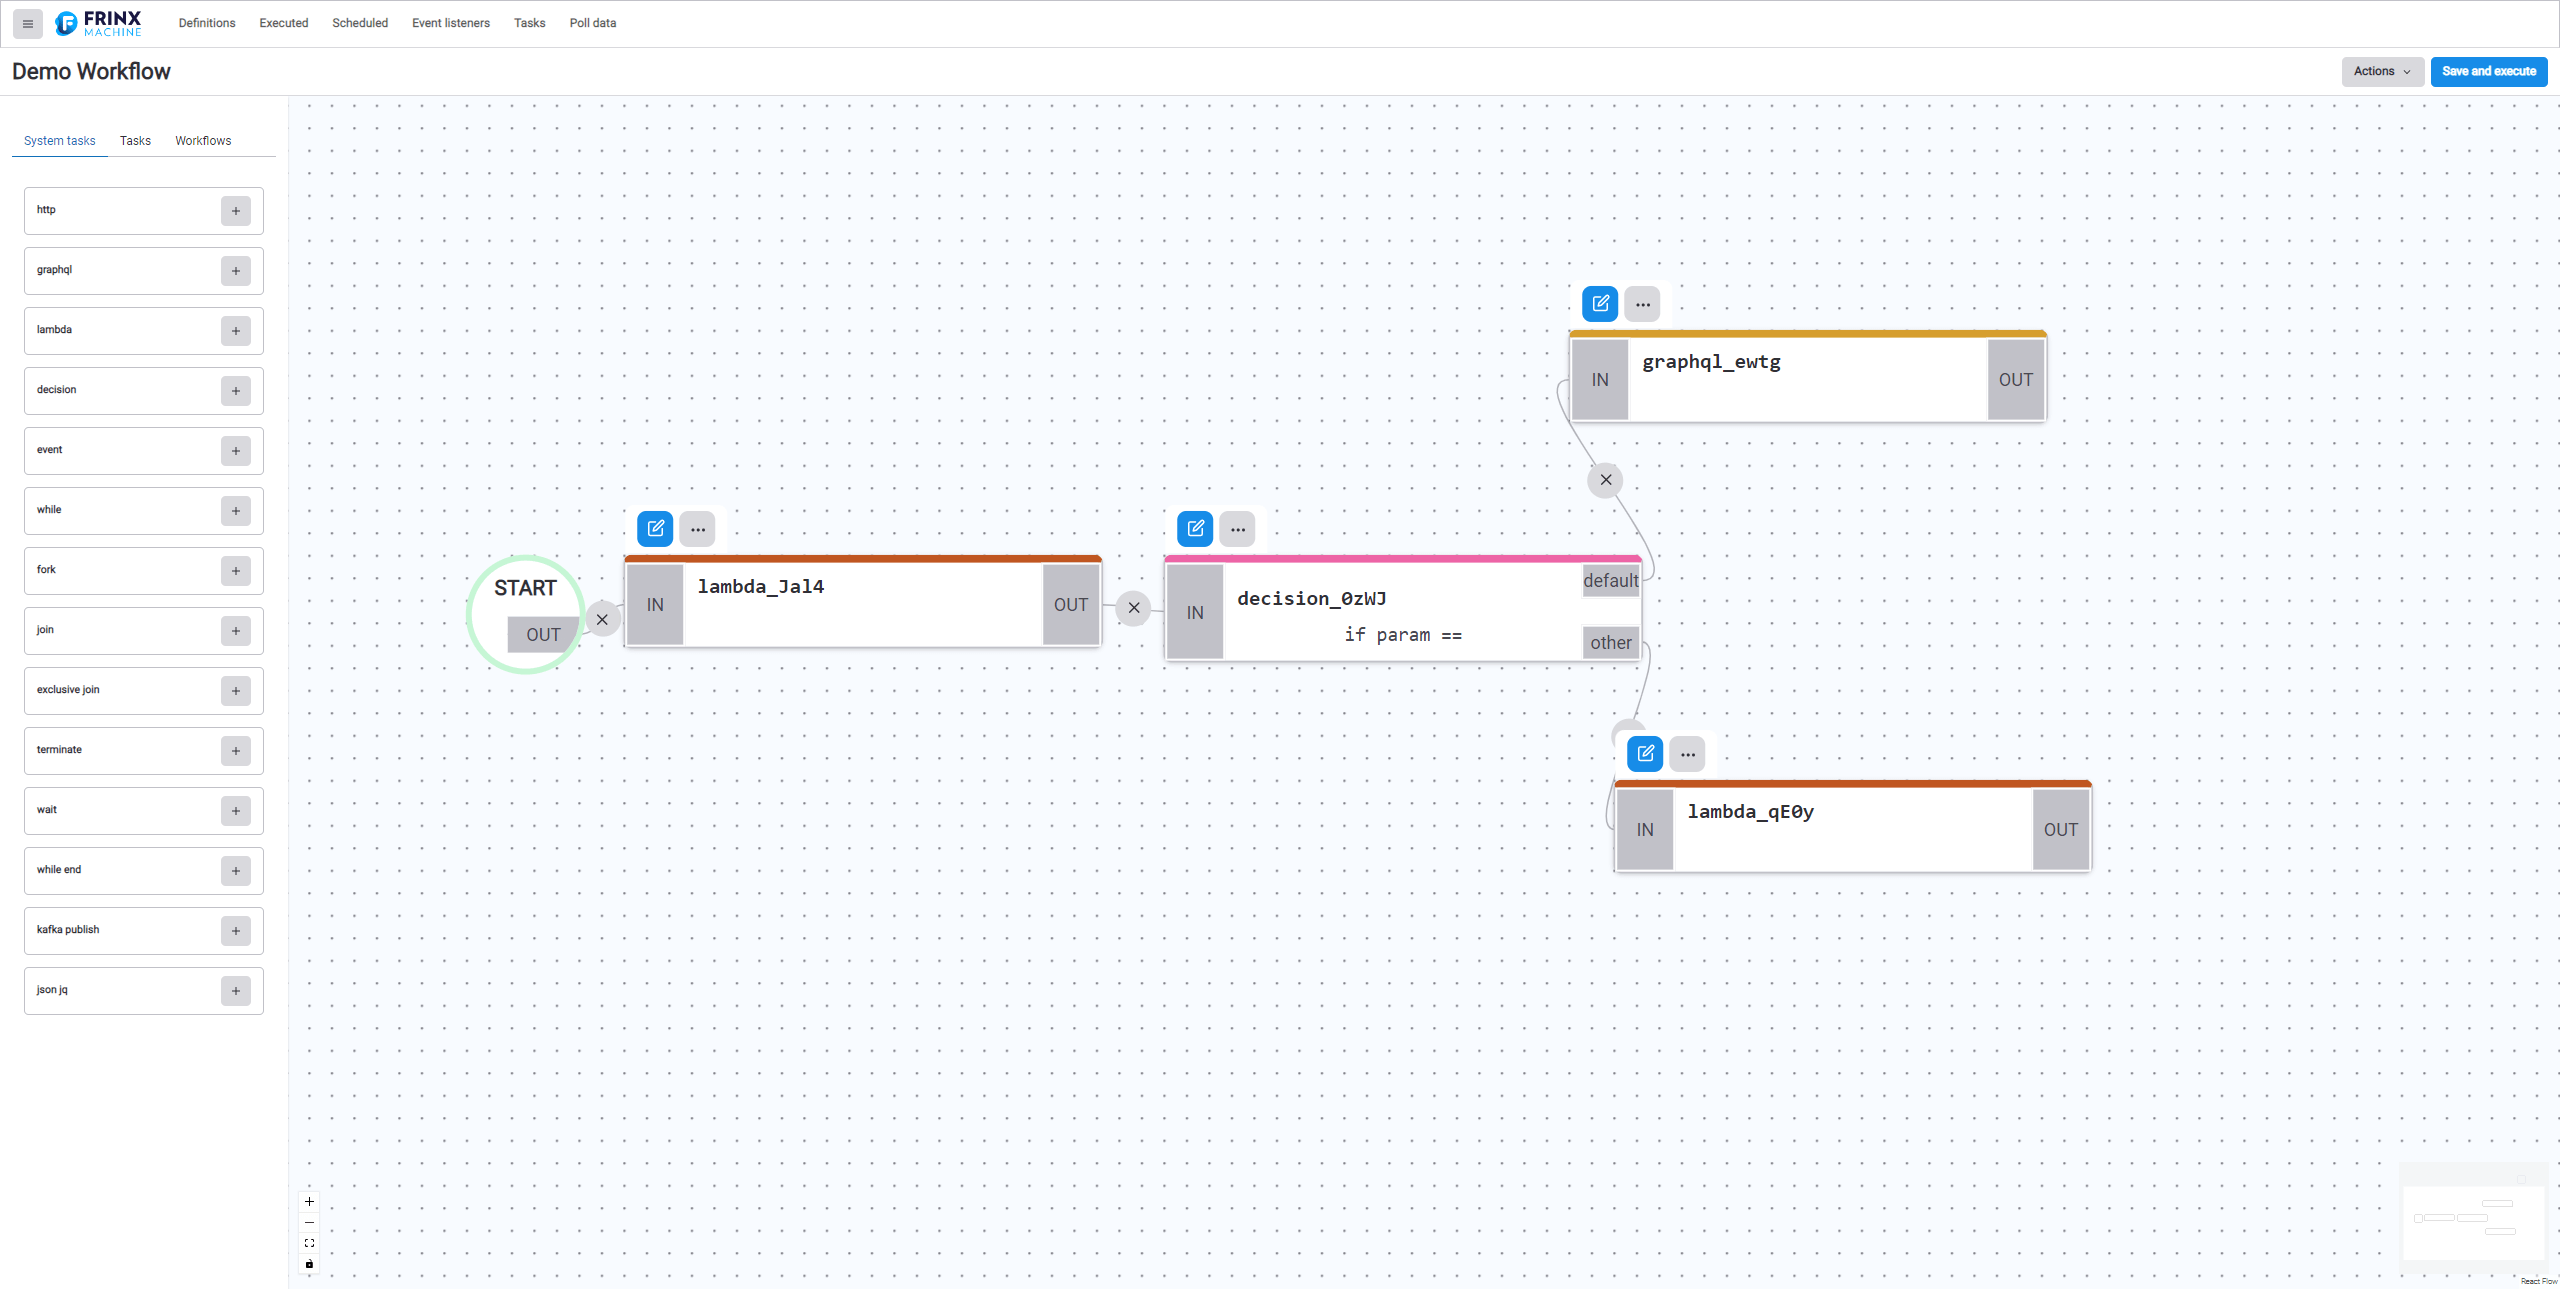
Above every task or workflow there are two icons:
Update:

Remove/Expand:

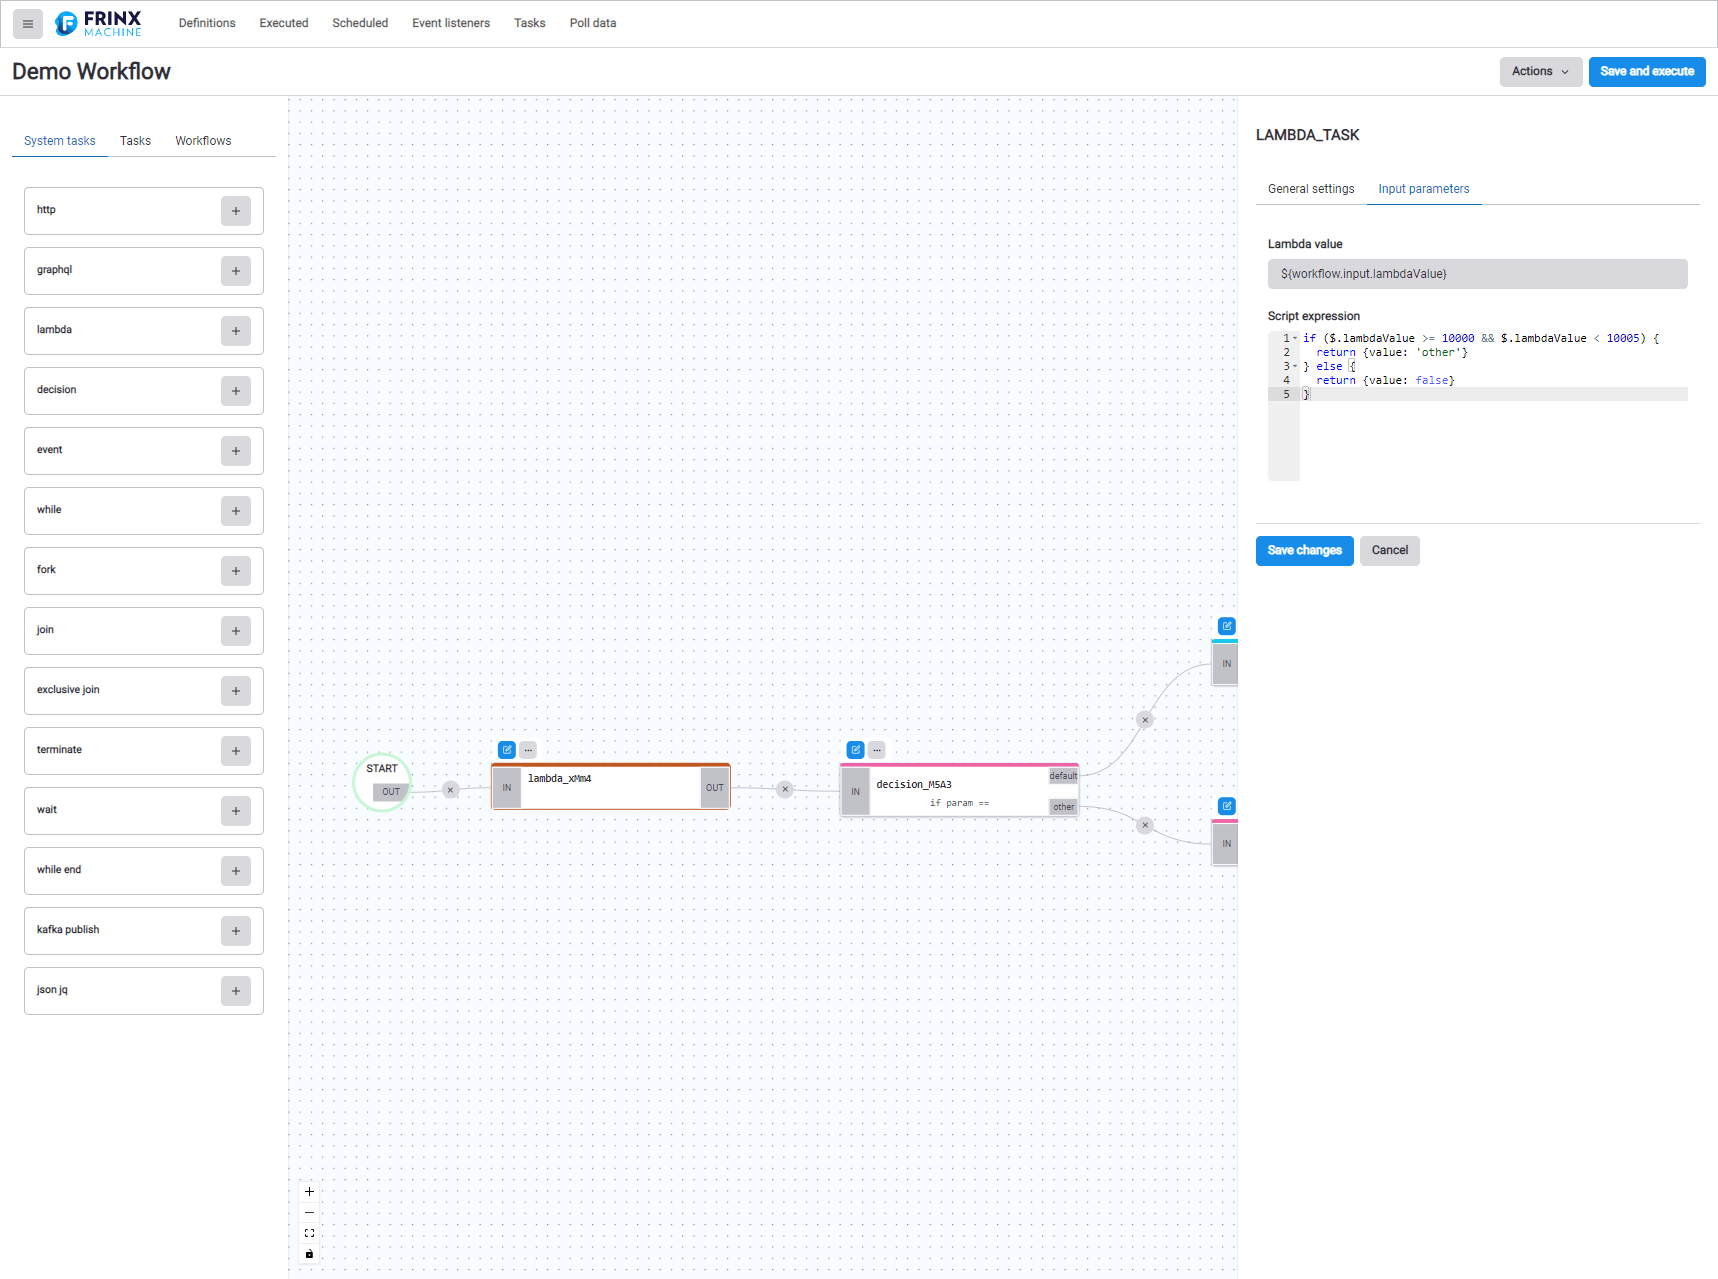
- lambda task: Makes a decision on which status to choose based on the embedded port. In this example we will only consider ports 10000–10004, and others are ignored. The lambda task lets you enter a small code (lambda - function without name) into the workflow builder.
In this case, if the specified port is both greater than or equal to 10000 and less than 10005, the status chosen is keep working. Otherwise, the status is end. This status is the output of the lambda and the input for the next task or sub-workflow.
Sub-workflows are similar to classic workflows, but inside of another workflow. The workflow that we are creating can also be used as a building block for another workflow, becoming a sub-workflow itself. In this manner, we can layer and reuse previously created workflows.
In the Input parameters tab and the Lambda value field, enter: ${workflow.input.port}. This indicates that the task should work with what was entered in the port field in the input of this workflow. (We will cover this later, in section 7.)
In the Script expression field, enter a small function which we described above.
if ($.lambdaValue >= 10000 && $.lambdaValue < 10005) {
  return {value: 'other'}
} else {
  return {value: false}
}
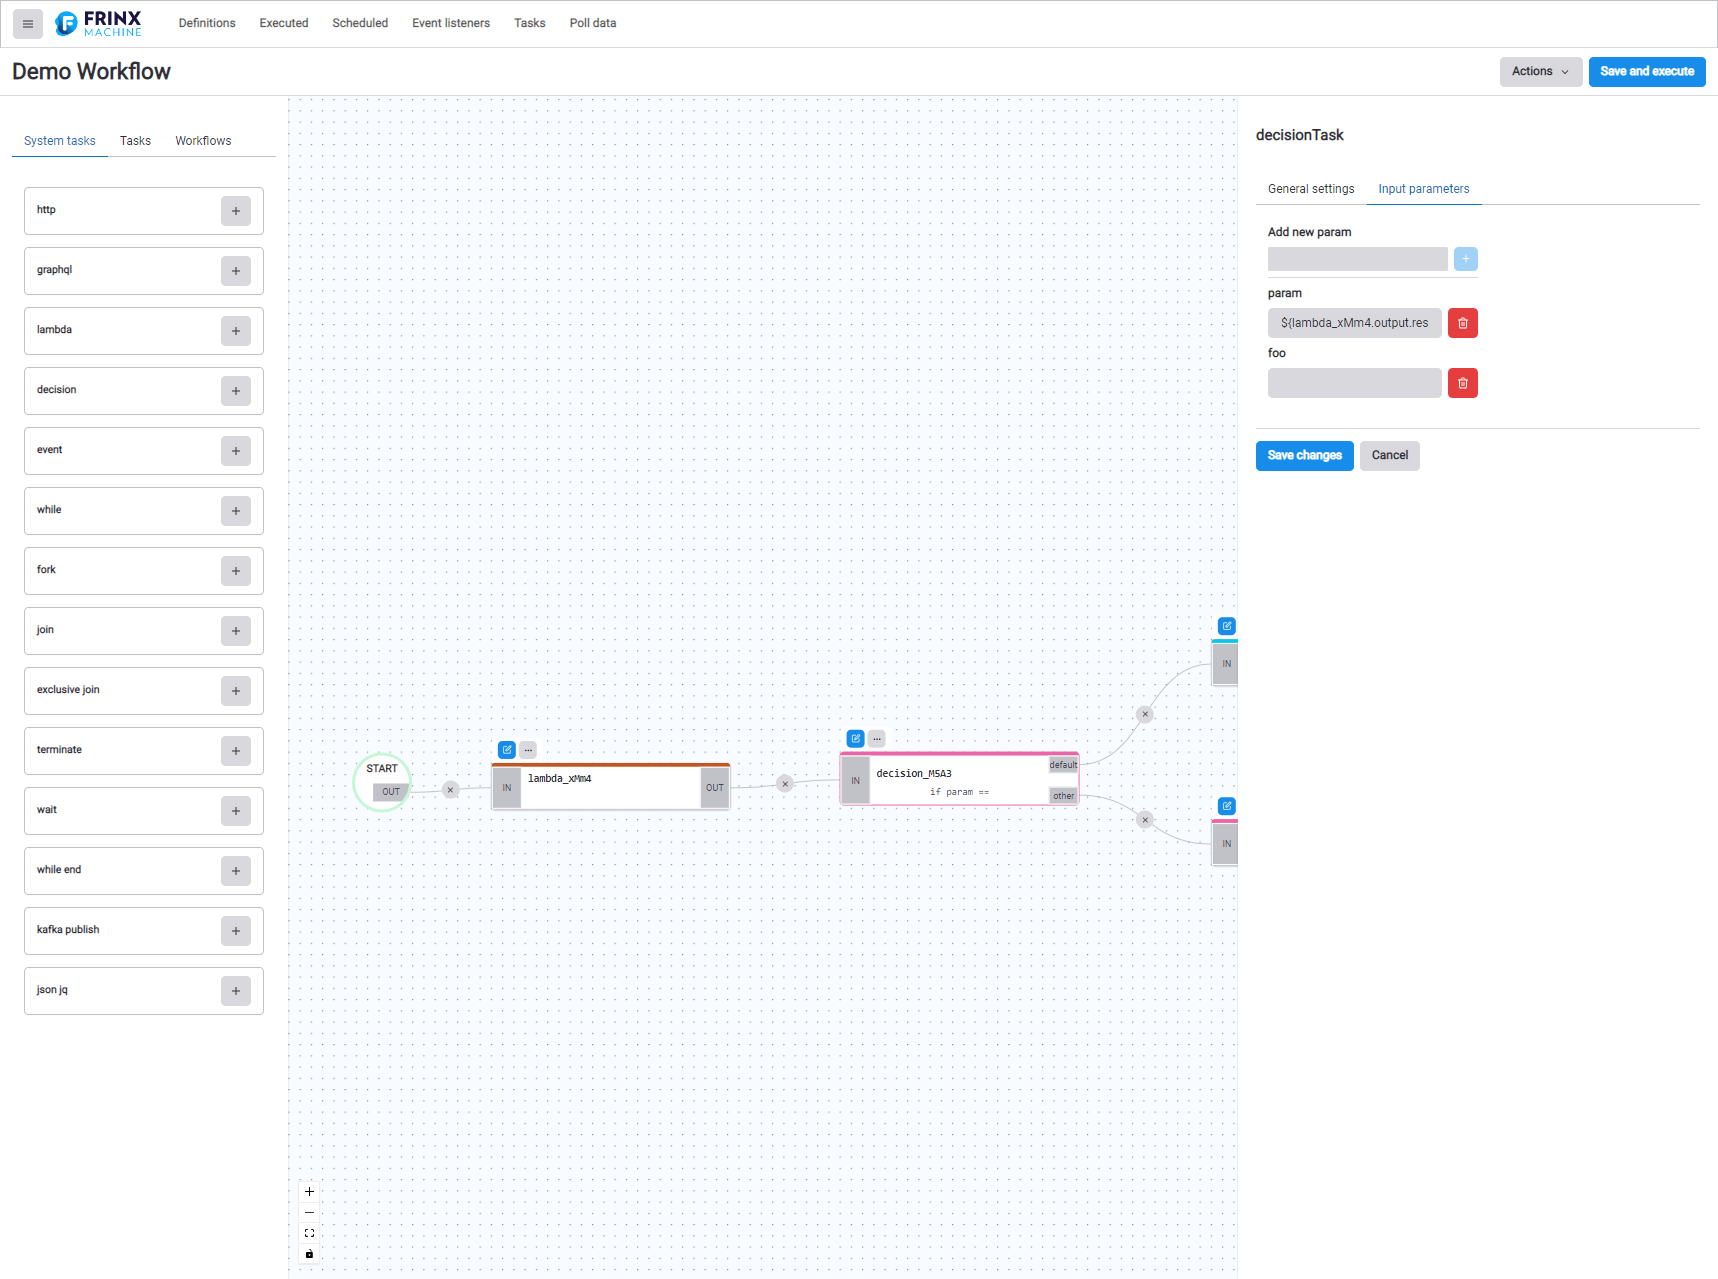
- decision task: Makes a different kind of decision from the lambda task discussed above. This task works like a switch on a track, sending the train one way or another. The data needed to make a decision is supplied by the lambda task.
In the Input parameters tab, delete the default parameter foo. For the param parameter, enter ${lambda_IkSu.output.result.value}. (Note that IkSu is an automatically generated reference alias that you must edit to match the one generated for you.) What ${lambda_IkSu.output.result.value} means is to take the value from lambda_xyzq which is in the output, find the result in the output and the value in it.
If the input value for decision is other, it directs the flow towards device_identification. If the input value is false, it directs the flow towards terminate. This corresponds to the way we connected the cells in the workflow builder.
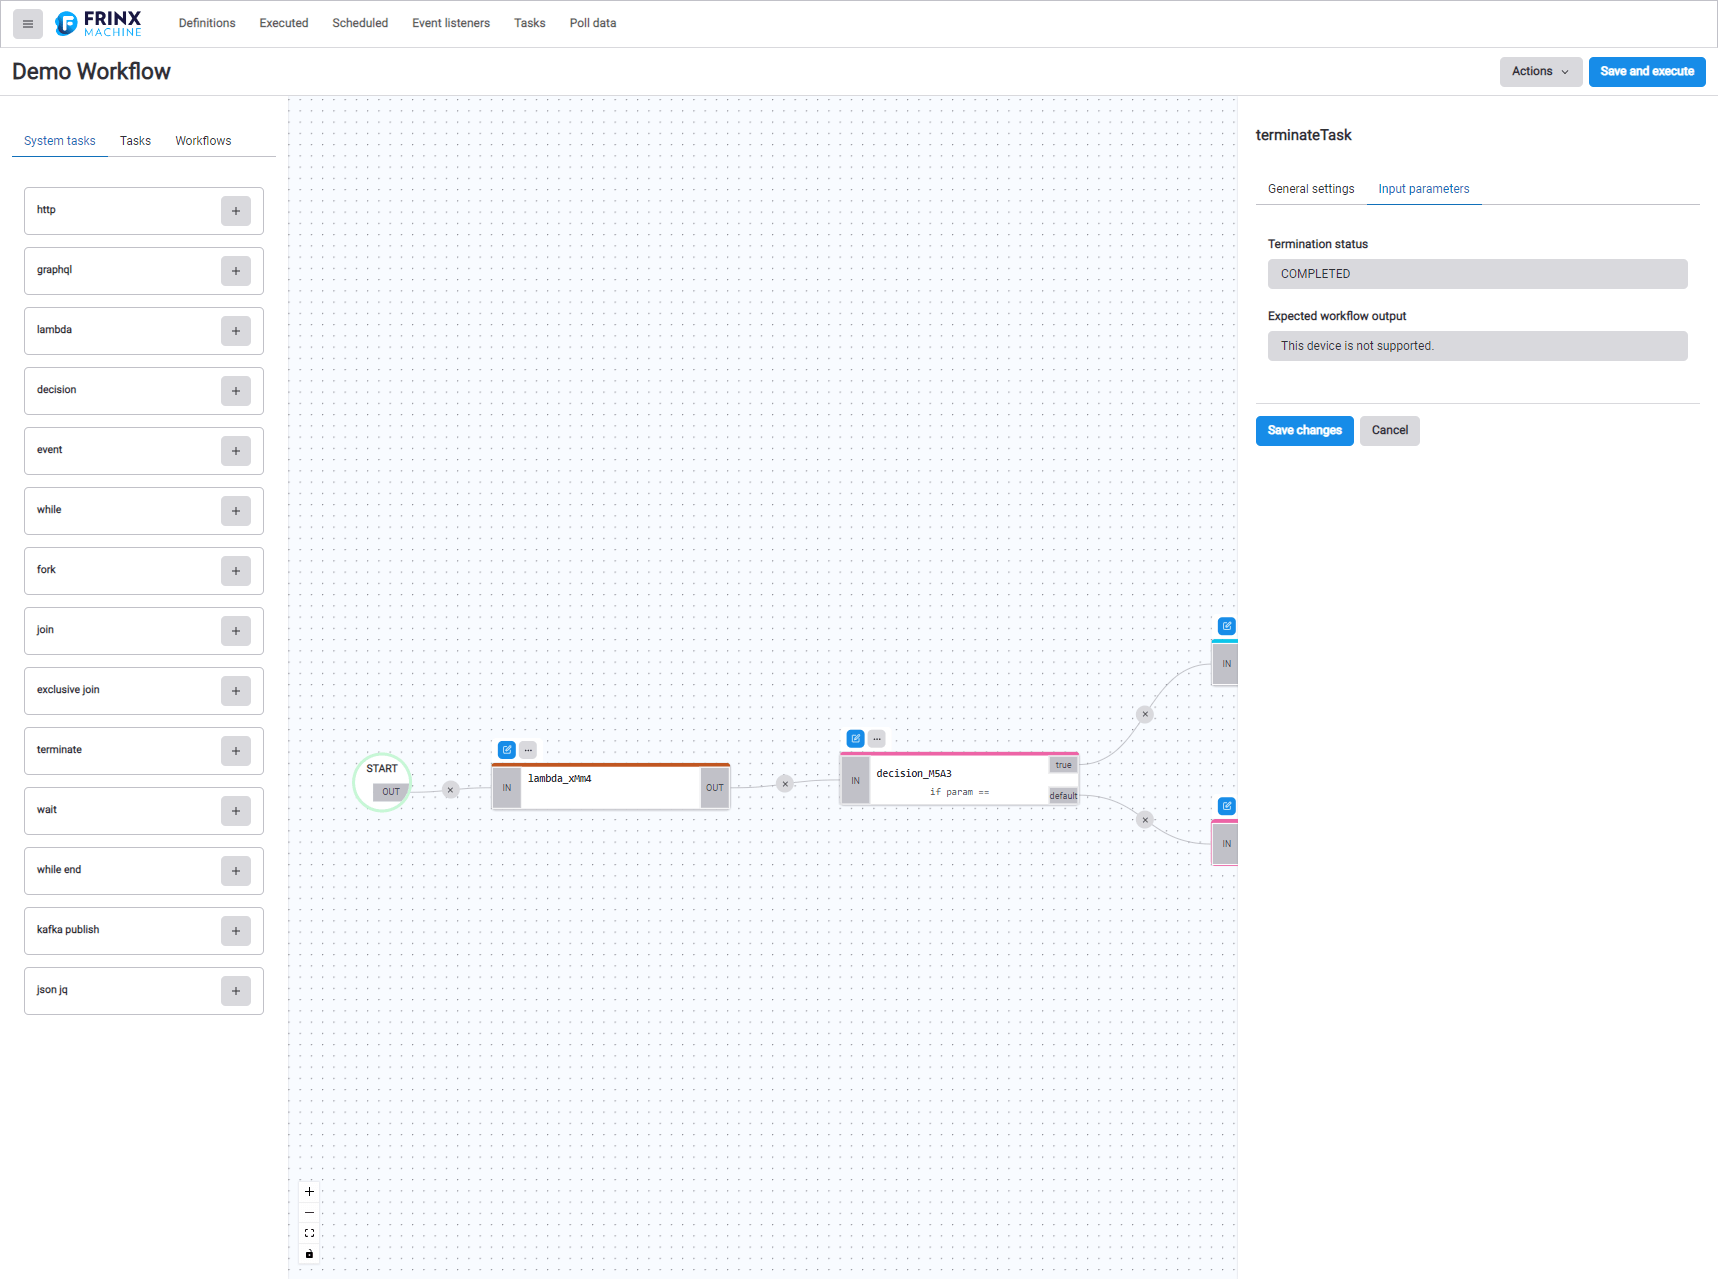
- terminated task:
In the Input parameters tab, enter COMPLETED (or FAILED, at your discretion) in the Termination status field. You can enter whatever message you want in the Expected workflow output field (for example, Device not supported.)
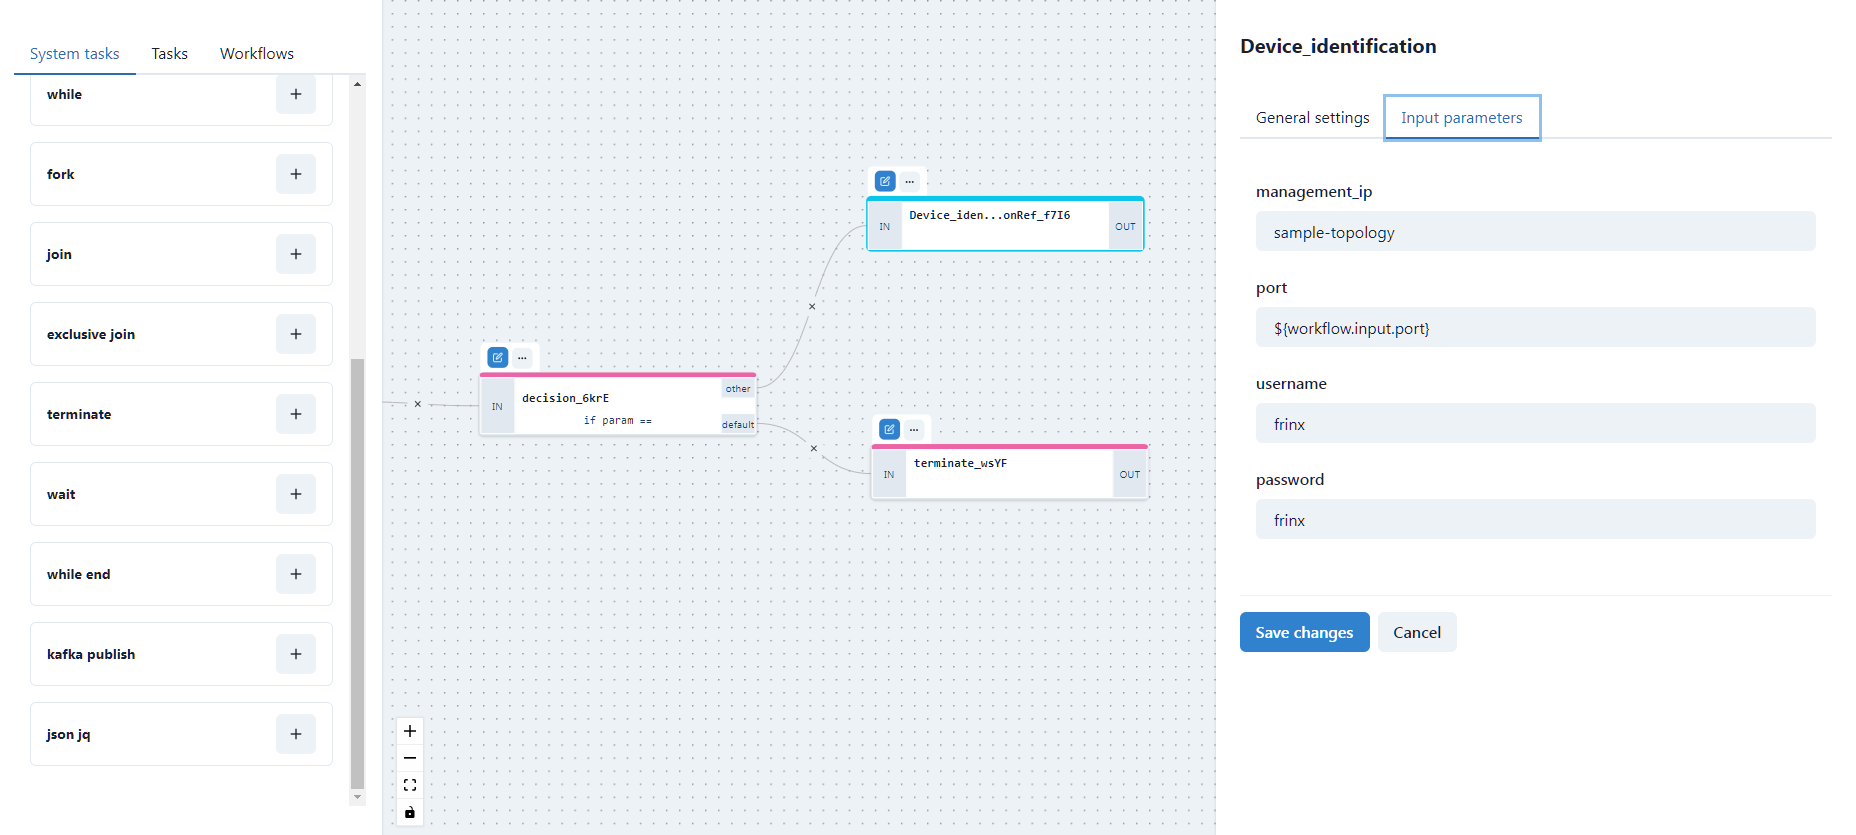
- Device_identification task:
In the Input parameters tab under management_ip, enter sample-topology. This is the name of the topology in this installation, whereas in production you would use a real name. For port, enter ${workflow.input.port}. If you enter a port number manually, the workflow will not ask for one when started (the same goes for management_ip and other fields). However, we want the user to be able to select a port they are interested in, as we did with the lambda task in section 4.
username and password: For this demo, we assume that the following login credentials are used on all devices: username: frinx and password: frinx
As above, if we enter the username and password directly, the workflow will not ask for credentials at startup.
When working with devices using different login credentials, you need to be able to change or enter them at startup. This can be achieved in the same way as with the port parameter:
username: ${workflow.input.username}
password: ${workflow.input.password}
Like we mentioned above, in this demo workflow we will assume that login credentials are the same everywhere.
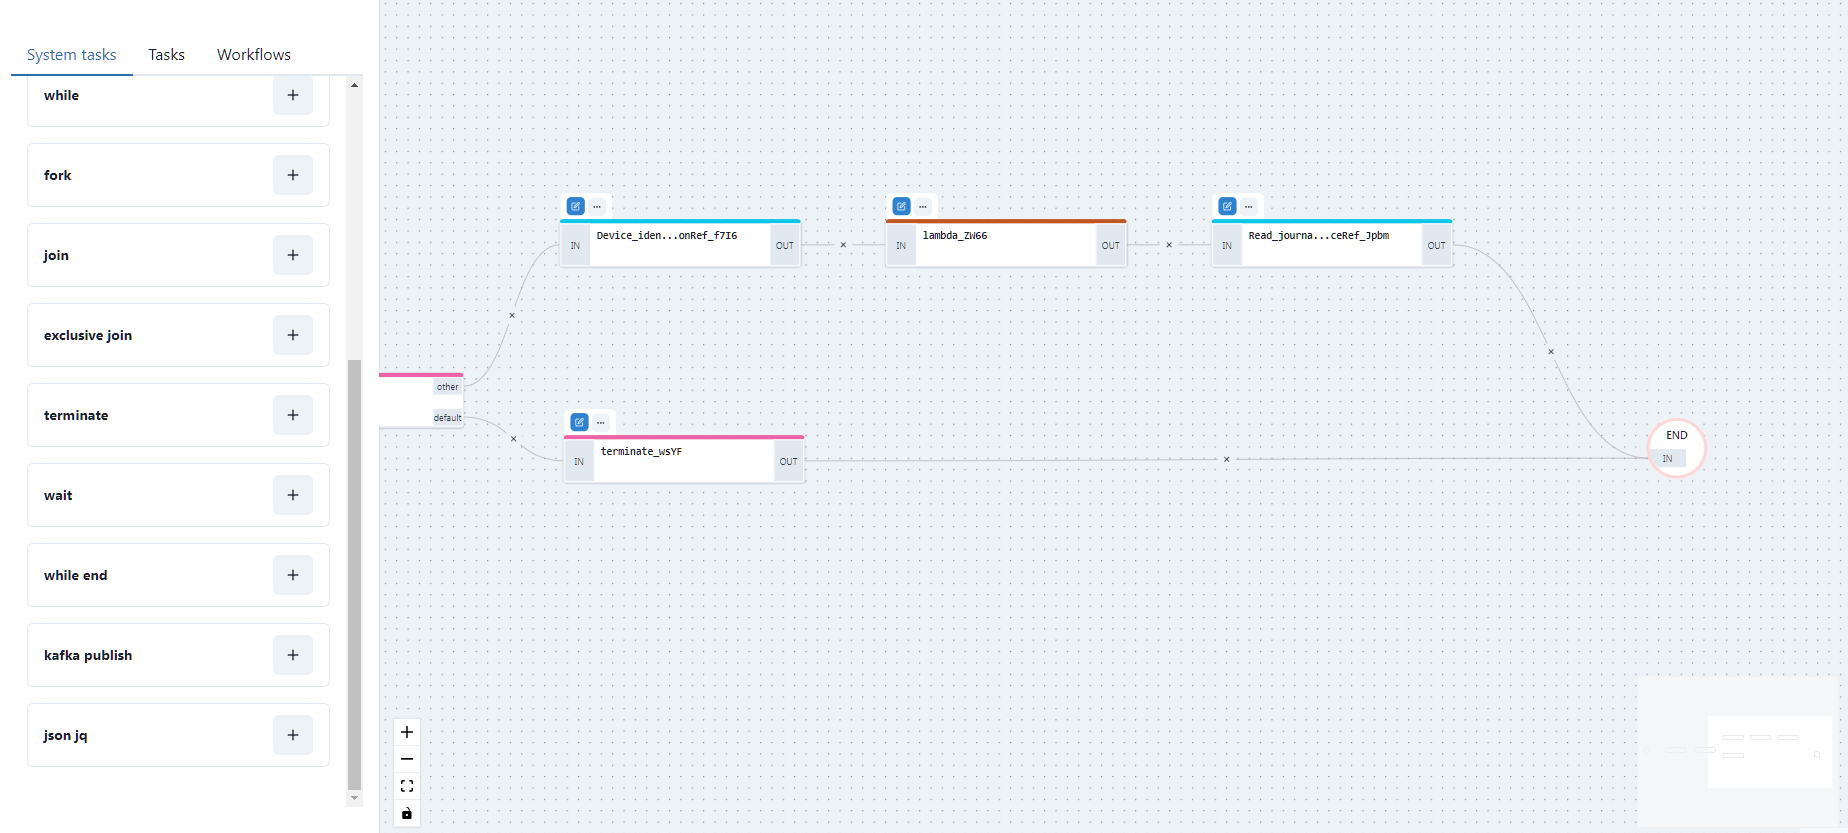
- Now we can add more tasks. In the left column under System tasks, we can add another lambda. In the Workflows section, you can find Read_journal_cli_device. Let us place them next to each other after Device_identification and concatenate them:
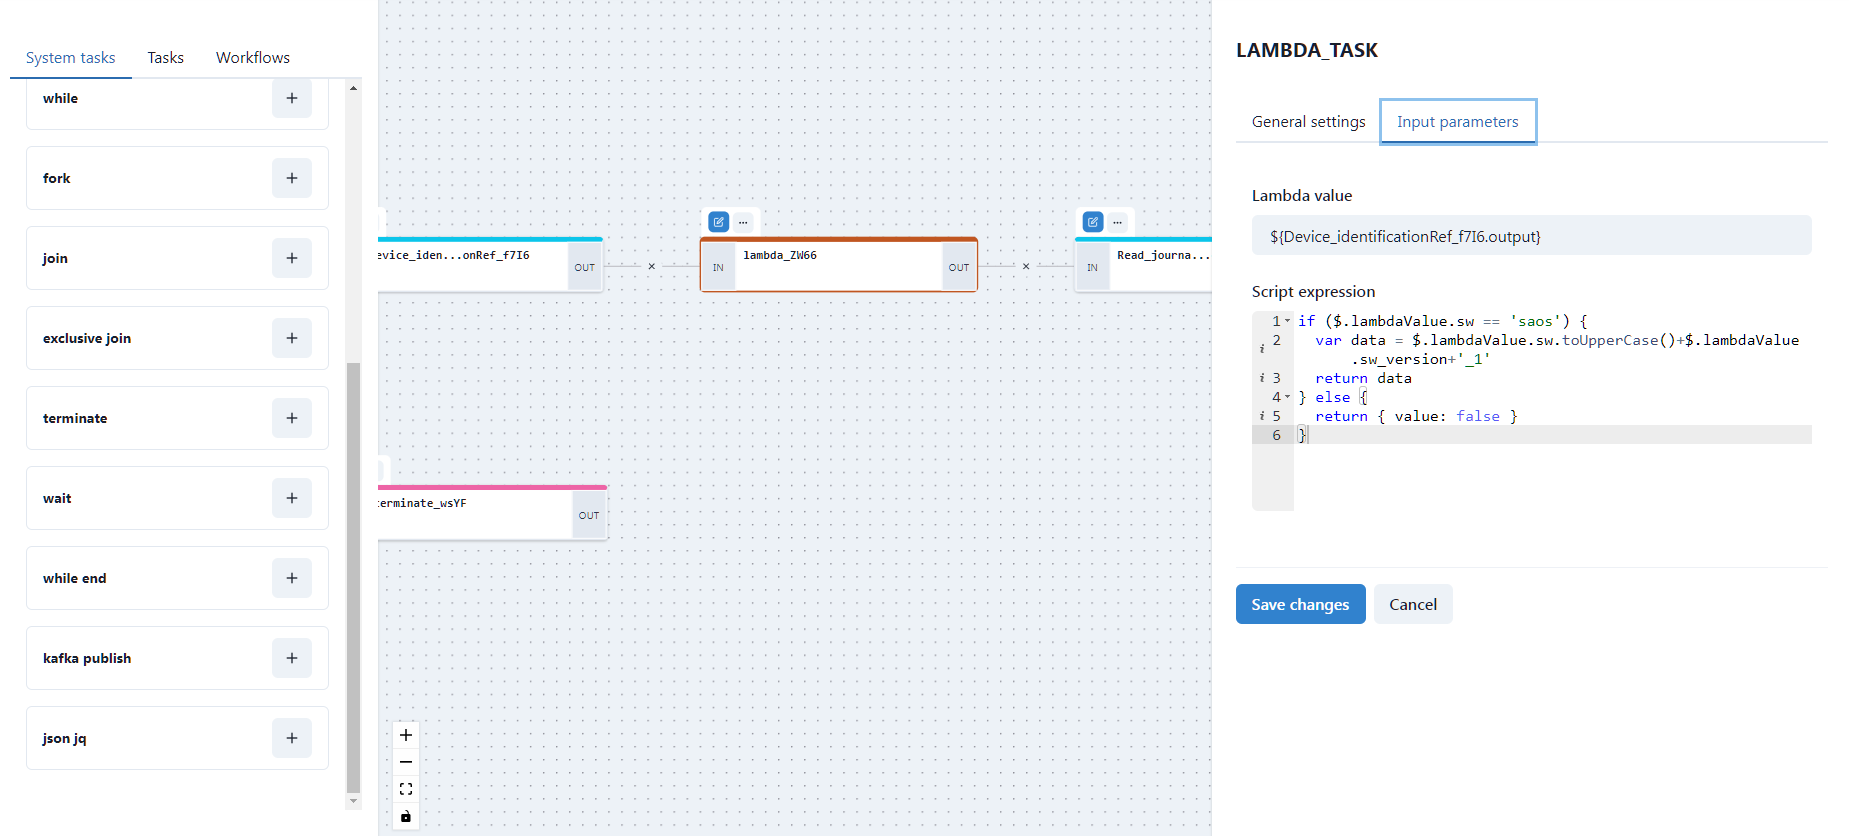
- Second lambda: Enter
${Device_identificationRef_f7I6.output}as the lambda value, meaning "take the output from the previous Device_identification task and use that".
Enter the following into the body:
if ($.lambdaValue.sw == 'saos') {
  var data = $.lambdaValue.sw.toUpperCase()+$.lambdaValue.sw_version+'_1'
  return data
} else {
  return { value: false }
}
A translation of what is happening here: "If the identified device is of the type saos, then extract the name from the output message of the previous task, change the letters to uppercase, extract the version from the output message of the previous task, glue them together and add _1 (because that is how devices are named in this demo topology".
- Read_journal_cli_device: In the Input parameters tab under device_id, enter
${lambda_ZW66.output.result}.
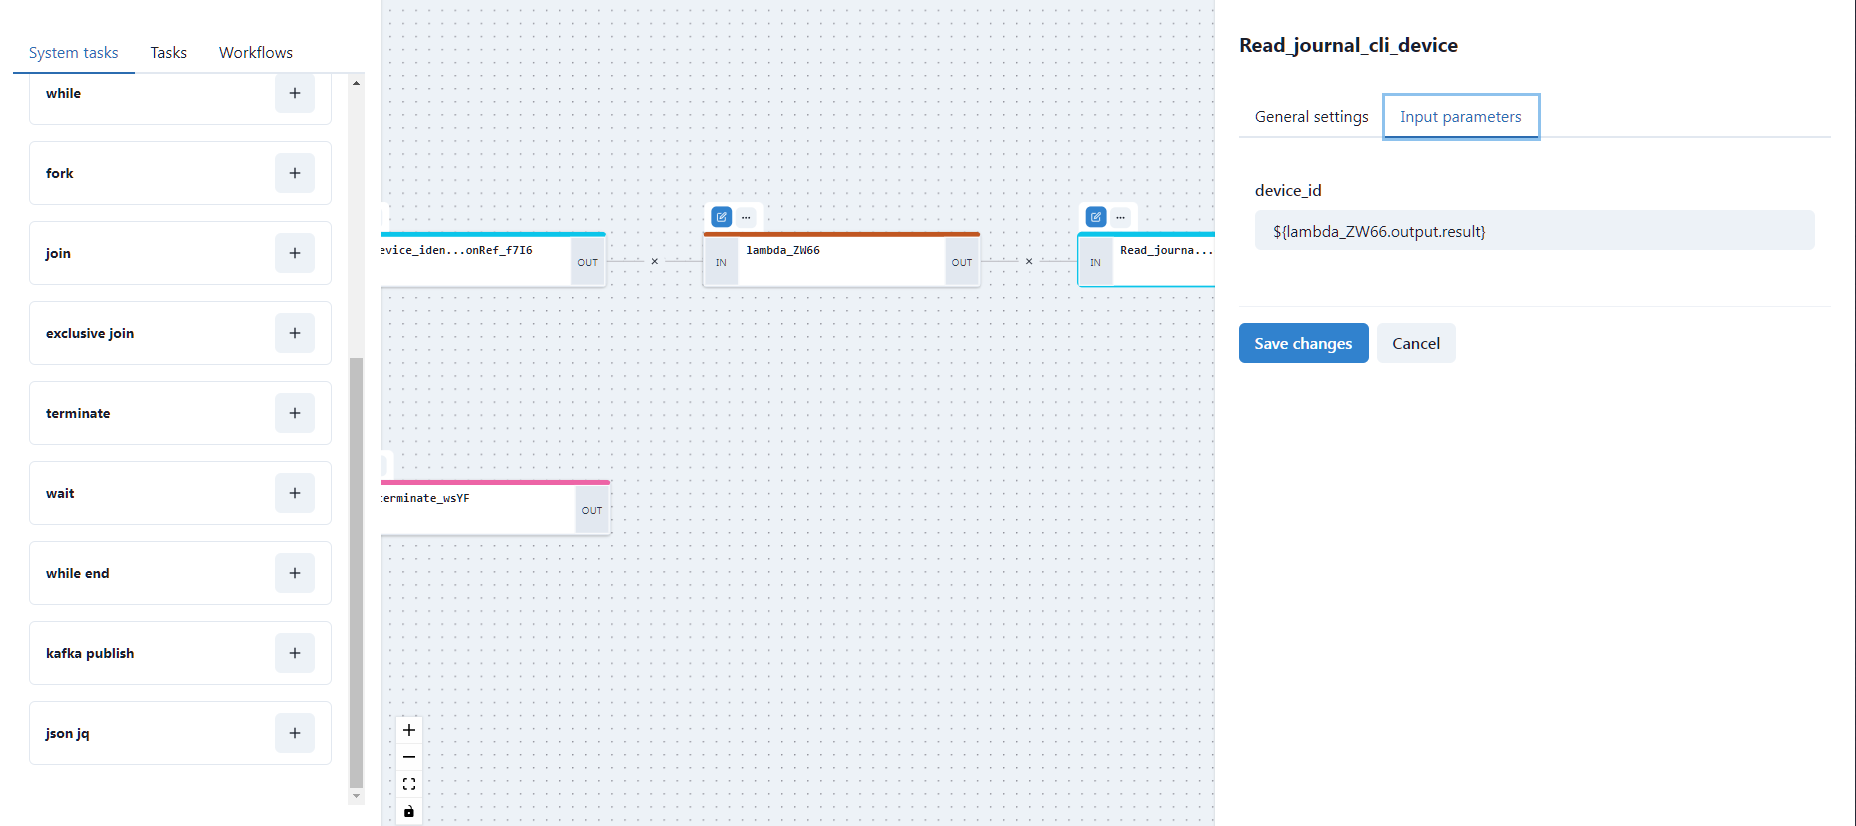
- The output from Read_journal_cli_device is concatenated with END, as is the output from terminated. Thus we have closed our custom workflow.
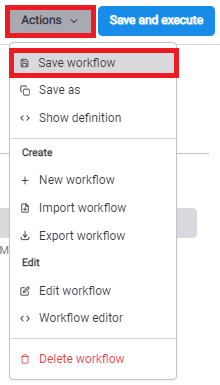
- Save and run your workflow.
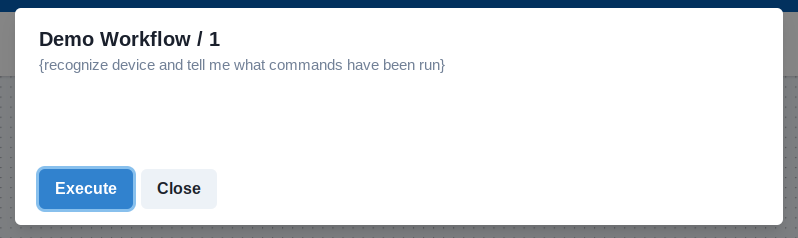
Next steps:
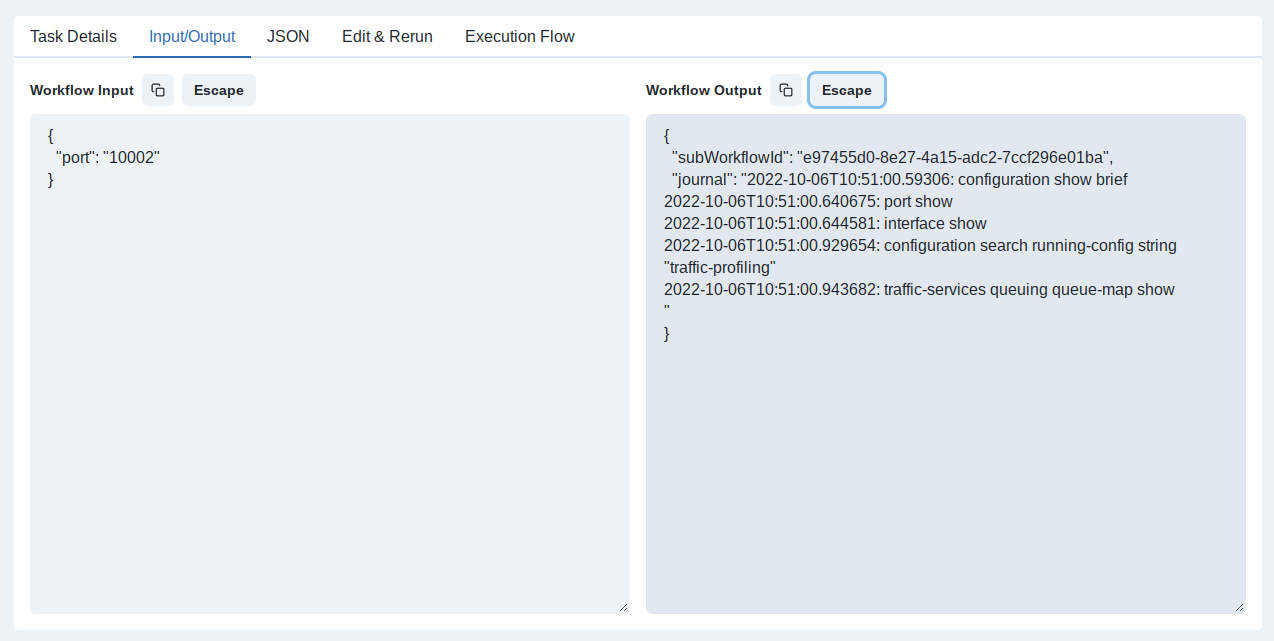
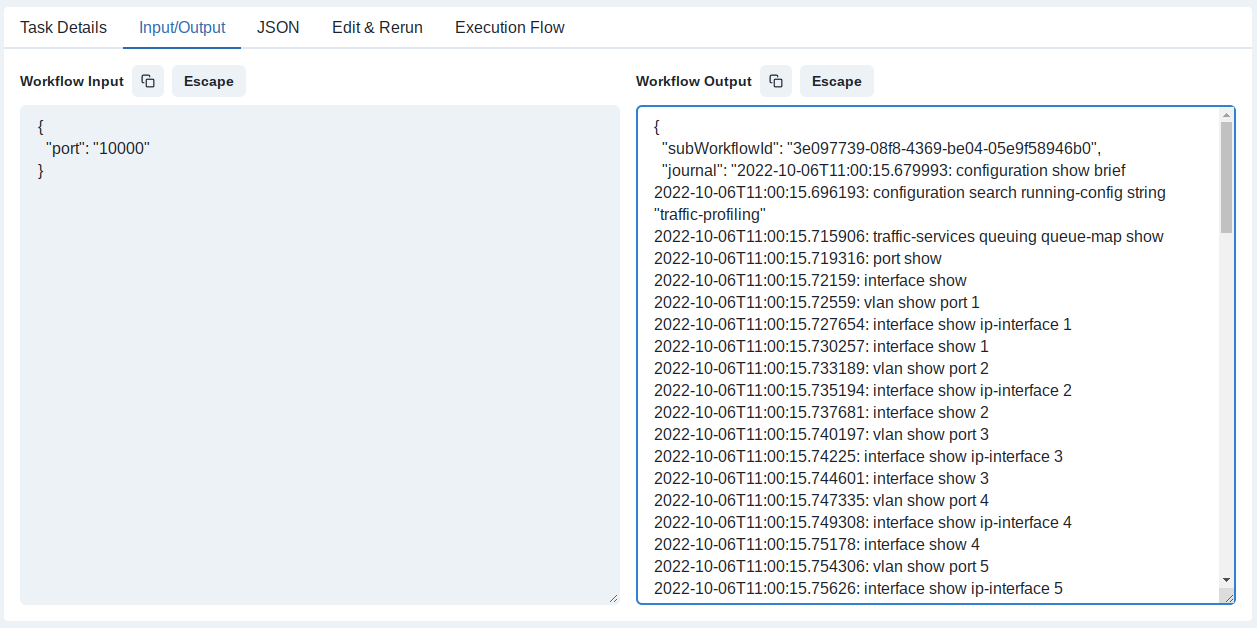
Finding your new workflow and running it with multiple different inputs such as 10 000, 10 002, 10 012, etc.
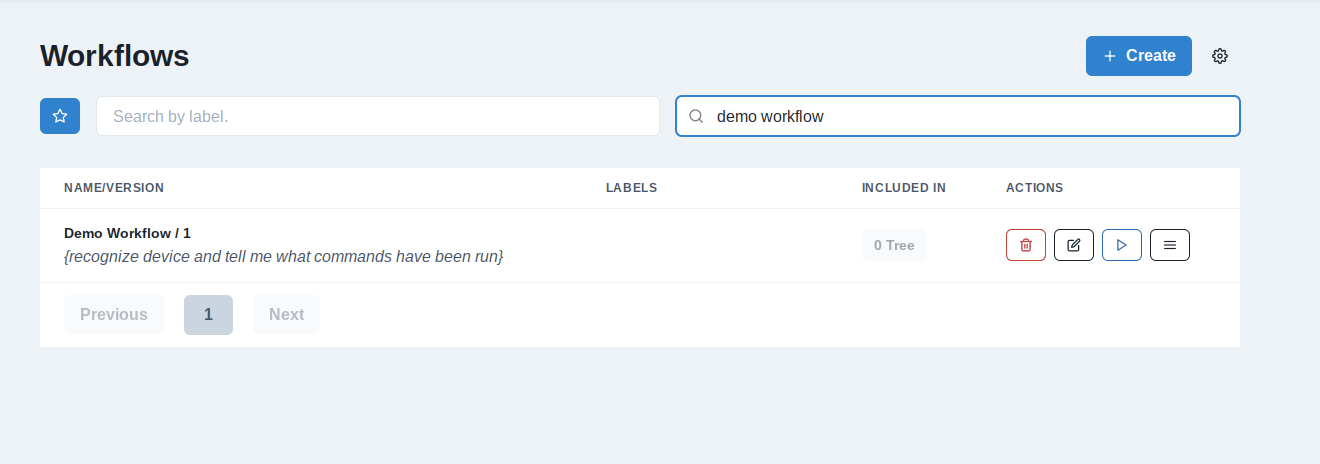
For different ports, you can see different devices with other run commands in memory.